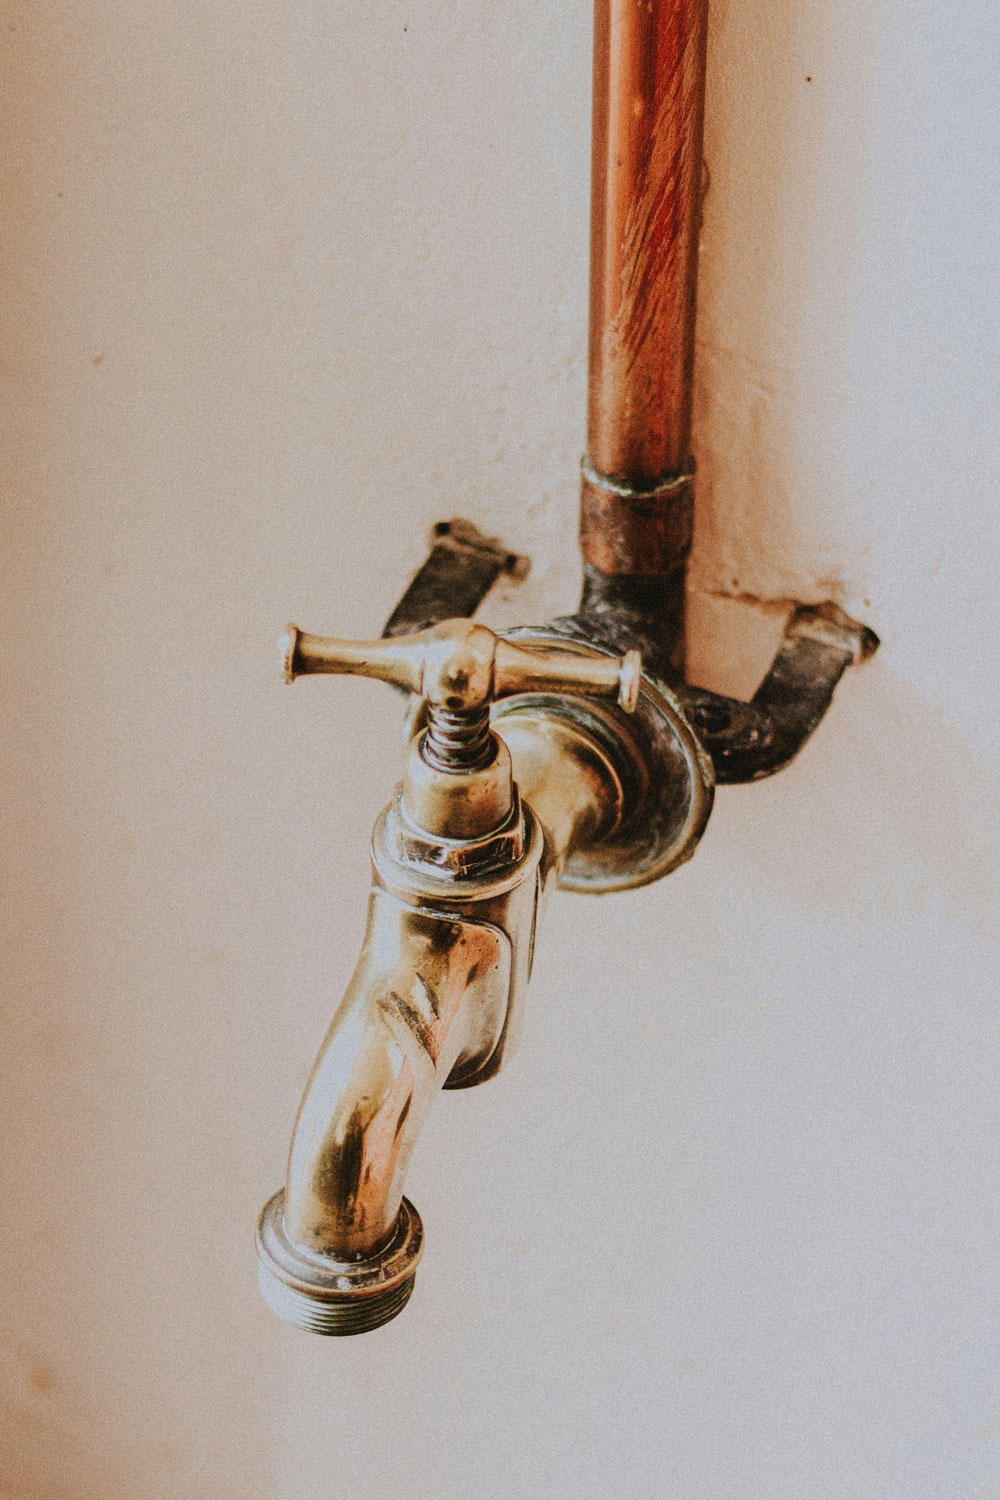
Fixing a dripping tap is usually a straightforward DIY job, and in most cases it’s caused by a worn washer or cartridge. The method depends on whether you have a traditional compression tap (separate hot/cold twist handles) or a ceramic disc tap (quarter-turn handles or a single lever).
Here’s a step-by-step guide
🔧 General Preparation
-
Turn off the water supply – either at the isolation valve under the sink or the main stopcock.
-
Plug the sink – so you don’t lose screws or parts down the drain.
-
Gather tools – adjustable spanner, screwdriver, replacement washer/cartridge, plumber’s tape (PTFE).
🌀 Fixing a Traditional Compression Tap (washer type)
-
Remove the decorative cap (if present) on top of the handle.
-
Unscrew the handle screw and lift off the handle.
-
Unscrew the gland nut (the large nut holding the tap head).
-
Pull out the tap stem to expose the washer at the base.
-
Replace the old washer with a new one of the same size.
-
Reassemble the tap, tightening the gland nut.
-
Turn water back on and test.
⚙️ Fixing a Ceramic Disc Tap (cartridge type)
-
Remove the handle as above (unscrew cap + retaining screw).
-
Unscrew and remove the retaining nut holding the cartridge.
-
Pull out the cartridge (take it to a DIY shop to get the right replacement).
-
Insert the new cartridge, tighten the nut, and reassemble.
-
Turn the water on and test.
✅ Tips
-
If the tap still drips after replacing the washer/cartridge, check the seating (where the washer presses against). If damaged, you may need a reseating tool or to replace the tap.
-
Always wrap threads lightly with PTFE tape when reassembling to ensure a watertight seal.


